
Bluebirds at Pocahontas State Park
October 29th, 2024
Our annual camping trip to Pocahontas State Park resulted in some very lucky Bluebird visits! All p[...]
a Photography and Science Blog
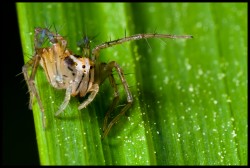
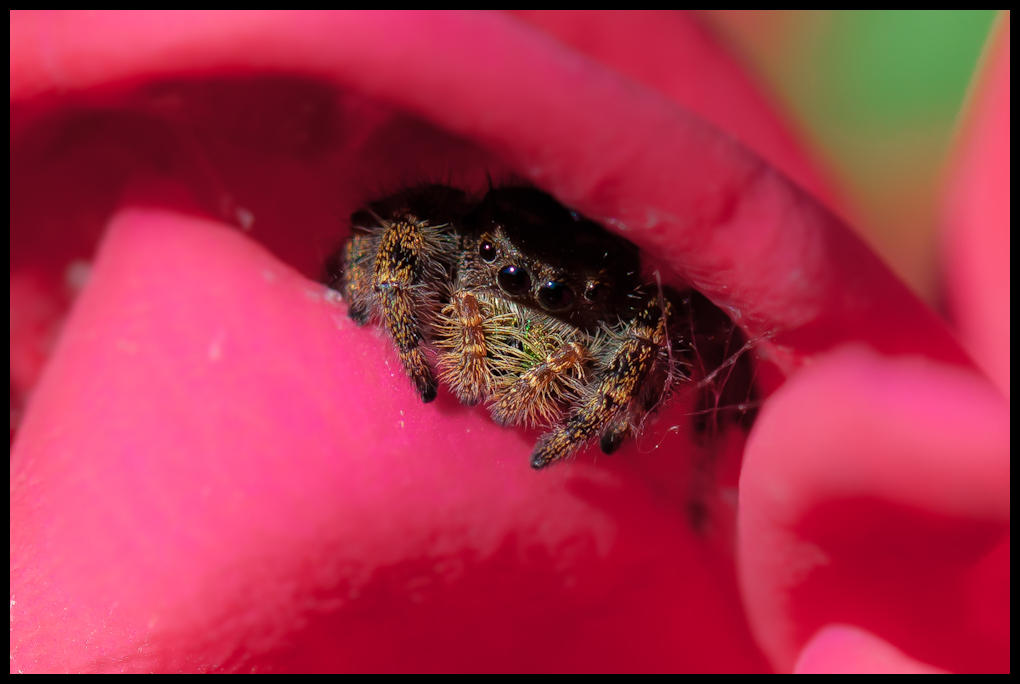
Hello! This is my first post after upgrading my camera gear. I’ve switched teams – I now own a Canon 5d mark II. All of the photographs in this series (and likely all photographs in the future) were shot with this camera and the mp-e 65 mm macro lens. I also had a MT-24 EX macro flash on the end of the lens, with a homemade diffuser spreading the light out. More info on that in the future.
For now, enjoy the first round of photos taken with this amazing setup. I am still learning how to use the camera & the flash, not to mention the lens itself, but I think the future is very promising with this gear.


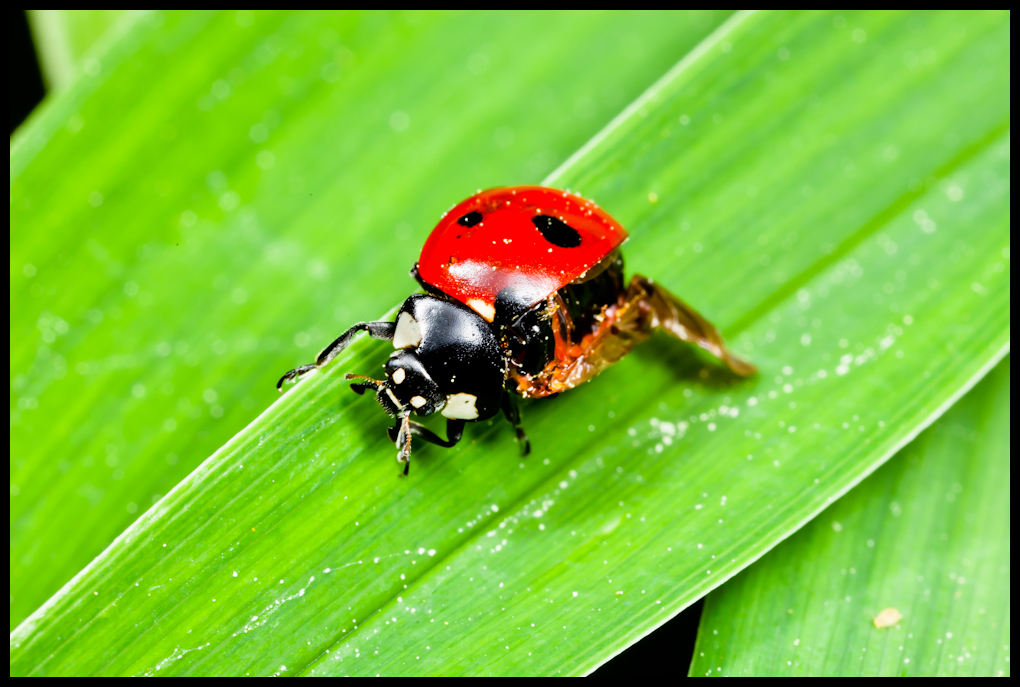


I see you
I’ve been doing a lot of photography lately, but I’ve been busy being lazy and not uploading photos. So, here is one huge post with everything I’ve shot in the past few weeks. Hope you have a good internet connection.
This guy to the left here was found in Coinjock, NC during the East Coast Star Party, in Oct 2011. Lots of interesting bugs there, always enjoy shooting with new people and in new locations.
Coinjock, NC
Note the parasite on the harvestman below


This male crab spider hitched a ride all the way from Coinjock back to my place. I discovered him on my kitchen counter, under my sleeping gear. I took him outside and he was happy to pose for me. I’ve seen plenty of female crab spiders, but never a male, much less one with such a beautiful red color.

Botetourt Gardens, Norfolk, VA
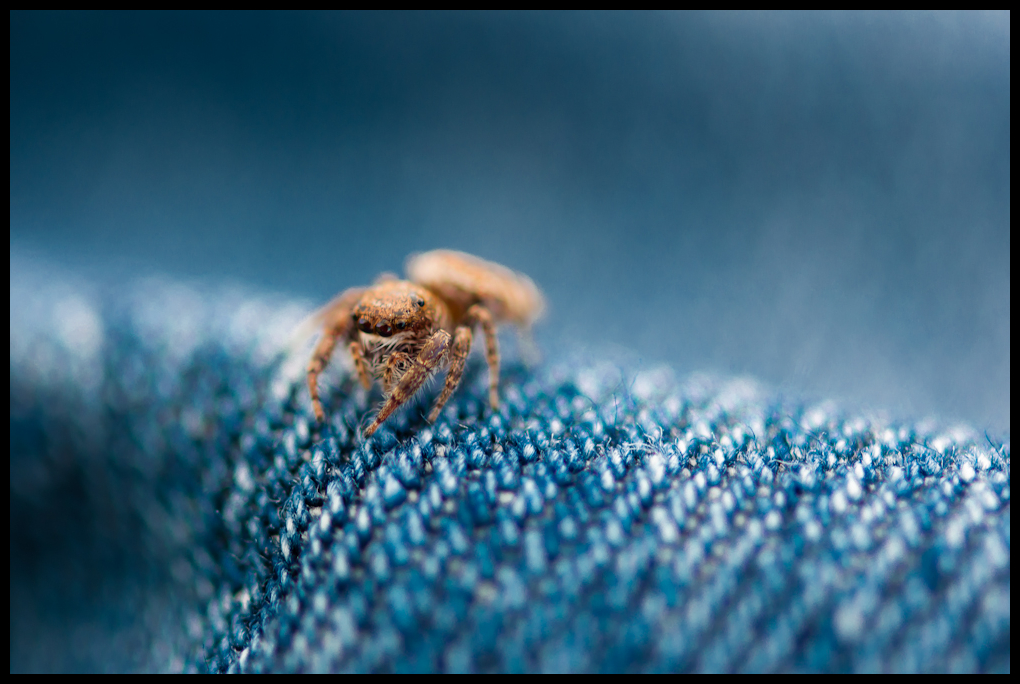
This was my first time seeing a Zebra Spider (Salticus scenicus i think.) Very pretty spider, but insanely shy. I spent over an hour photographing this one and only got a few shots.


Another day at the Botetourt Gardens, I saw a praying mantis. First one in a long time.


50mm reversed
In a previous post, I posted some ‘extreme macros’ I took with my d90 and my 50mm f/1.4 lens reversed. I’ve been asked to share the details on how I configured everything to accomplish those photos. This post will show you the items I used and how to assemble them. I will make a post in the future detailing the technique I use to photograph things with this setup.
Here are all the additional items I used to reverse my lens on my d90. Depending on the lens you use, the step up / step down filters may vary, so please be sure to do a little research to find out precisely what you need.

Items required
All of these can be purchased from Amazon. In order from left to right,

D90 with 50mm lens reversed
Note: Do not to over-tighten anything. The extension tubes and br2a lock in place, but the filters are threaded. If you over tighten, you risk stripping the threads or getting things stuck.
All pieces in this puzzle have two ends, male and female. I will use this nomenclature to describe what end goes in to what.
I prefer to use all three extension tubes that came with this set. You can use more, or less, as desired. More tubes means more magnification, but also means more difficulty in getting a good photo. Each tube section has both a male and female end. When connected together, one long tube is formed with a male and female end. Take the male end of this tube, and insert it in to the d90 body, just like you would a normal lens. On the tube itself is a small red dot, align this with the white dot on the d90 body (just like a lens.) Rotate it counter-clockwise (if facing the front of the camera) until it locks in to place. This leaves us with a female end to which we attach the br2a.
Attaching the br2a to the female end of the tubes works the same way. Note that one side of the br2a has a threaded extension, and the other has the standard ‘back of a lens’ mount. Put this end in to the extension tubes, with the threads facing away from the camera. There is no convenient dot, so I just rotate it around until it fits evenly in, then lock it in to place.
This part requires a bit of research. You can use exactly what I have used, but there is more than likely a better solution. I had all these pieces lying around, so it works for me. Note the picture above does not match this setup. This way is a bit better. Below is the list of filters I use to attach the front of my 50mm lens (58mm threads) to the br2a (52mm threads.)
Here you must be VERY careful. These step up rings are plastic and as such seem a bit weak, so be very careful not to mis-thread the lens. That being said, the 50mm f/1.4 lens has a 58mm female filter thread on it for uv filters and the like. We will mount this on to the male 58mmm thread sticking out of our tube. Do so, carefully. Don’t over tighten, don’t force anything. It should screw in easily with no effort.
You should now have all the pieces together. D90 -> extension tubes -> br2a -> step up rings -> lens. Shooting like this will definitely take some getting used to, and you’ll need to be very careful not to bump the end of your lens in to things. Keep a cap on it at all times when you aren’t using it. The extension tubes and step-up rings are plastic, so they feel a bit cheap. However, since they cost very little, you can always upgrade to nicer, metal ones if you use this technique enough to justify it. Also, instead of using two step-up rings, you could for one 52mm (female) -> 58mm (male) adapter.
If you have questions or improvements, feel free to post them in the comments section. Hope this info helps.
I have recently been working on creating time lapses of clouds and the milky way. The latter I have been rather unsuccessful with, as the d90’s high ISO is pretty crappy. The former, however, has had much success. The process is not overly complicated, so long as I can manage to take a bunch of photos without interruption.
This video was shot in Hatteras, NC while I was on vacation, from my observation deck. Photographs were taken over 1 hour, 18 minutes, with 1 photo every 7 seconds. Shot with a d70s, using gphoto2 as my intergalometer. I used ffmpeg to generate the video. I do recommend watching it here, on vimeo where you can see it in HD.
[vimeo 30747177]
Of course, I also took photographs of clouds and the milky way.

Storm over the inlet
I did not edit the saturation of this photo, I think it might be an effect of photomatix. This is a 3-exposure stacked HDR.

OBX Sunset
Here is one photograph of the milky way that turned out ok by itself. 30 second exposure at ISO 800.

the Milky Way
This one is stacked from 5 photographs, each 30 seconds @ ISO 1000.

Milky Way Composite

I spent a lot of time last week in Hatteras, NC focusing on macro photography. I usually use my Nikon 105mm f/2.8G Lens, which gets me 1:1 magnification. However, last year I tried reversing my 50mm on a set of extension tubes, and it produced some serious magnification. I hadn’t tried taking this out in the field for a few reasons. Primarily, looking through the eyepiece is incredibly dark, so focusing is just about impossible. However, on a sunny day, and with a flash, it seemed to work.
This photo here on the left , along with the others in this post, were taken with my 50mm 1.4 reversed on a set of extension tubes. As you can see, this nail is insanely large, easily twice what I can get with my 105mm lens. The rest of the photos in this post are taken with this setup, and I plan to make a post eventually describing the method and camera configuration.
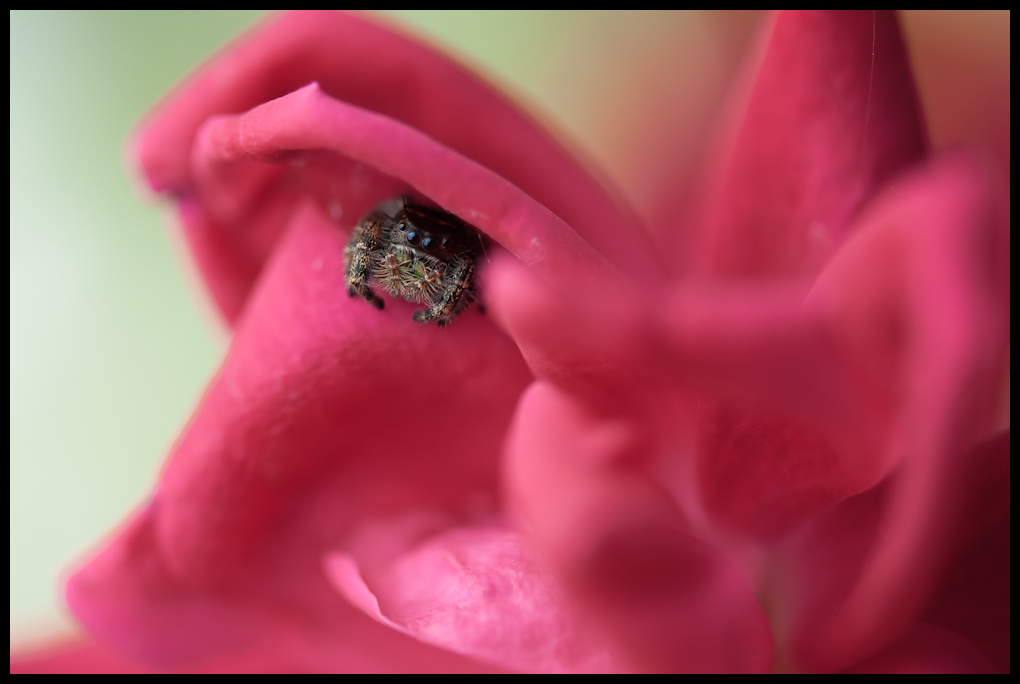
Well, here we are. This is what I’ve been trying to capture for quite a while, rather unsuccessfully. This is the same spider as in this post.

Large jumping spider
A wasp!

A wasp

a Different wasp
Here is more of the lichen from the previous post, too. Just with a different lens, way more magnified.

Lichen
This shell was about 1cm in diameter.

a Tiny seashell
October 29th, 2024
August 22nd, 2023
April 24th, 2023